



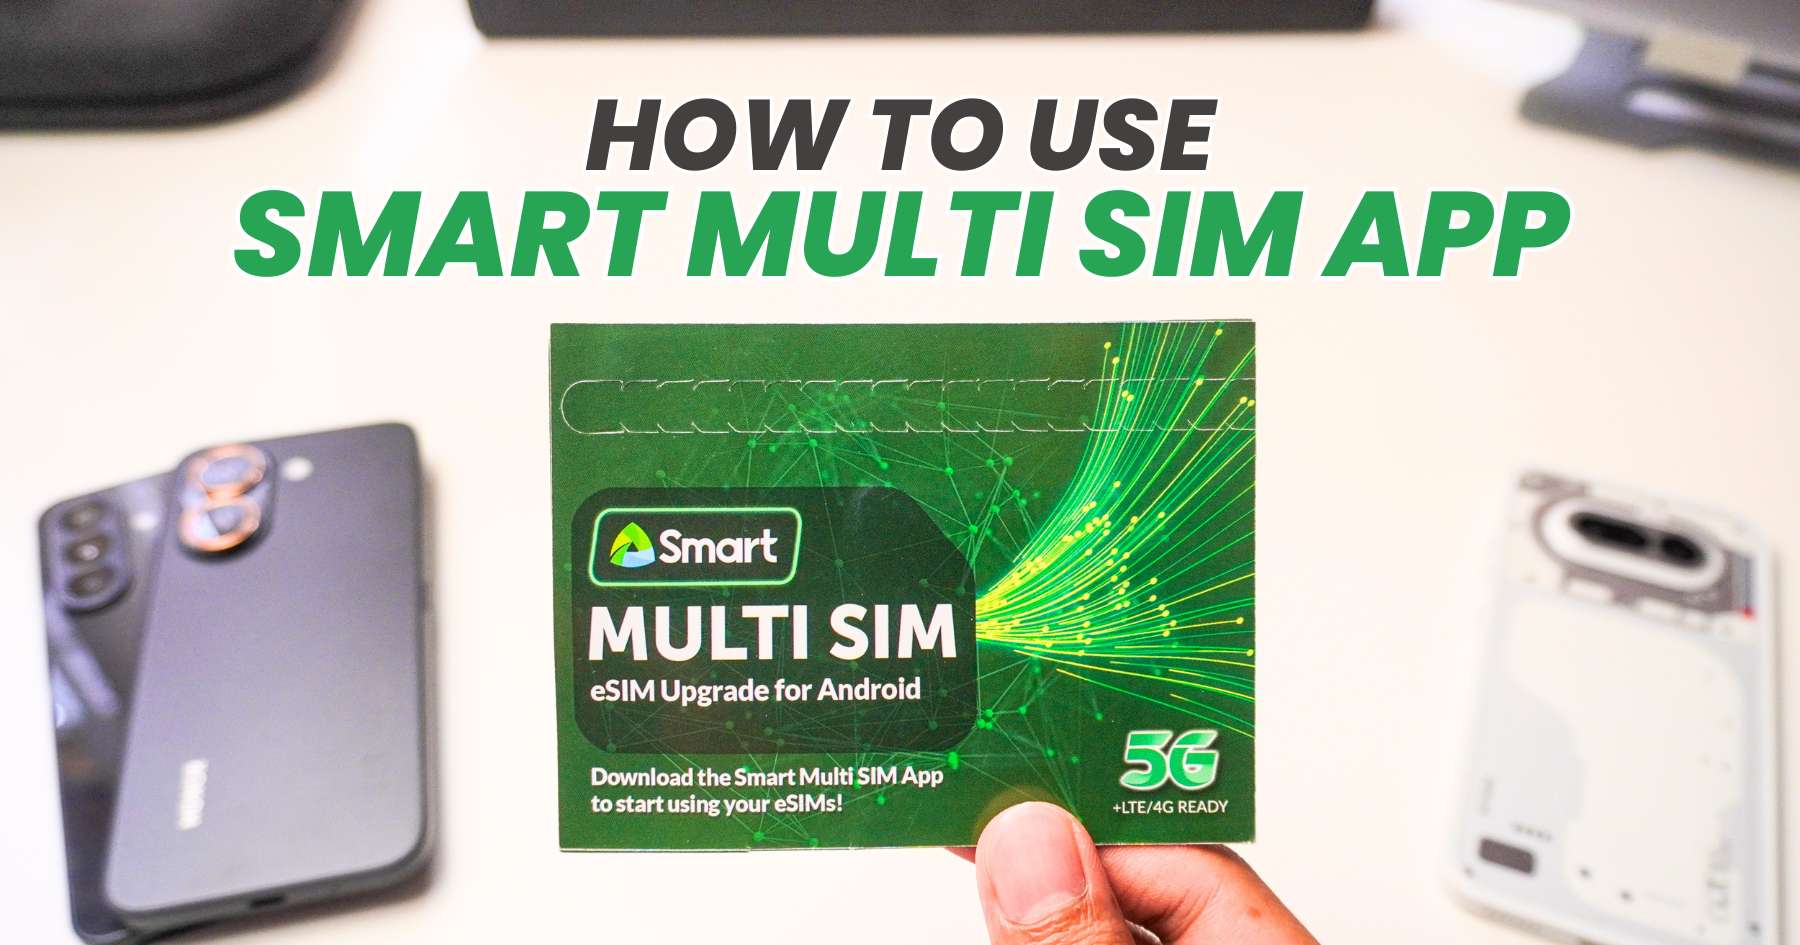
Not all Android smartphones come with built-in eSIM support, but Smart Prepaid subscribers may have another option through the Smart Multi SIM app.
In this guide, we’ll show you how to use the app to add different eSIMs to your Android device. We also tested the process on a phone that did not originally support eSIM.
Before You Begin
Before starting, make sure your Smart SIM is already registered.
If you haven’t registered your SIM yet, you can check out our guide on how to register your Smart SIM.
You’ll also need the Smart Prepaid Multi SIM app, which you can download and install on your Android phone.
Once installed, the app will check whether your device is compatible with the eSIM feature.
How to Use Smart Multi SIM App
- Install and open the Smart Multi SIM App.
- Tap Continue and allow necessary permissions.
- On the main screen, look for options Buy eSIM or Add eSIM.
- Select the Add eSIM option for your active eSIMs.
- Use the QR code sent to your email and Activate.
Your eSIM is now added and ready to use!

In our test, we were able to use the Smart Multi SIM app on an Android device that did not originally have eSIM support. However, device compatibility is still required, so check the app first to see if your phone is supported.
One thing to keep in mind is that the physical SIM and eSIMs cannot be used simultaneously through this setup. You’ll need to switch between them depending on which SIM you want to use.
On the other hand, the Smart Multi SIM App supports eSIMs of any network, so feel free to add your current eSIMs.
Related Smart Tutorials
- How to Convert Your Smart Physical SIM to eSIM
- How to Install Smart eSIM Directly on a Compatible Phone
- How to Transfer Your Smart eSIM to Another Phone
Smart Multi SIM App YouTube Tutorial
For visual learners, feel free to watch our step-by-step video tutorial below as reference.
